 "MR2_FTW - Group J's resident Stig" (MR2_FTW)
07/19/2017 at 16:42 Ģ Filed to: build, toyota, corolla, fx16, track car, racecar, project
 4
4
 0
0|
"MR2_FTW - Group J's resident Stig" (MR2_FTW)
07/19/2017 at 16:42 Ģ Filed to: build, toyota, corolla, fx16, track car, racecar, project | 4
| 0 |
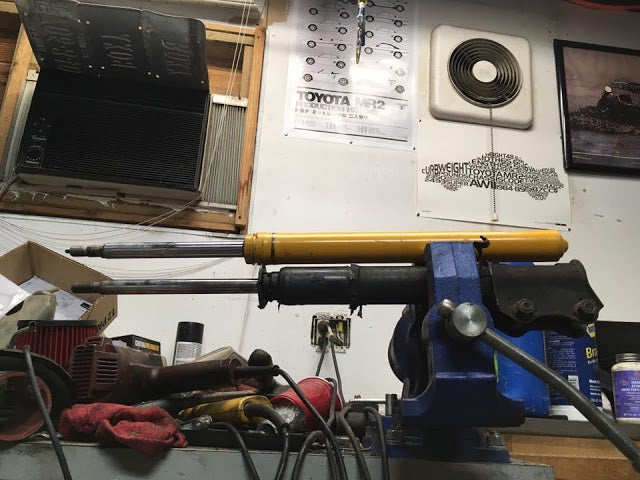
With the front suspension measurements sorted, it was time to figure out what to do with the rear. The design of the mounting flange is completely different from any of the MR2 housings, and the struts themselves are sealed units.
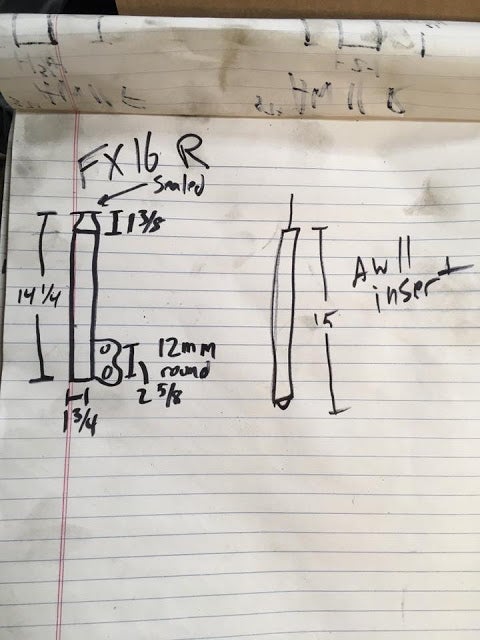
However the diameter is identical to an AW11 front housing, and the length is within an inch or so. I thought by removing the top of the X housing, and welding on the threaded top portion of an AW11 housing, I could make it work.
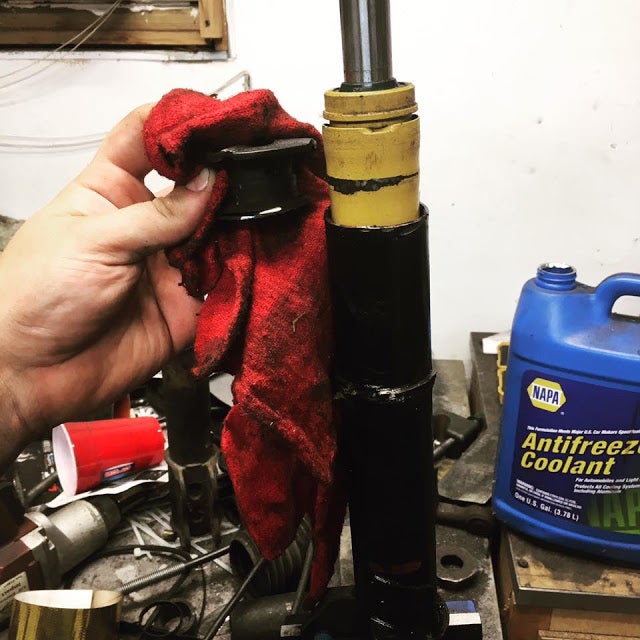
After a little time with the angle grinder, I removed the top of the FX housing, and used a blown AW11 Koni to test fit. The diameter is indeed perfect, it just needs a little extra length.
For more content like this, check out !!!error: Indecipherable SUB-paragraph formatting!!!
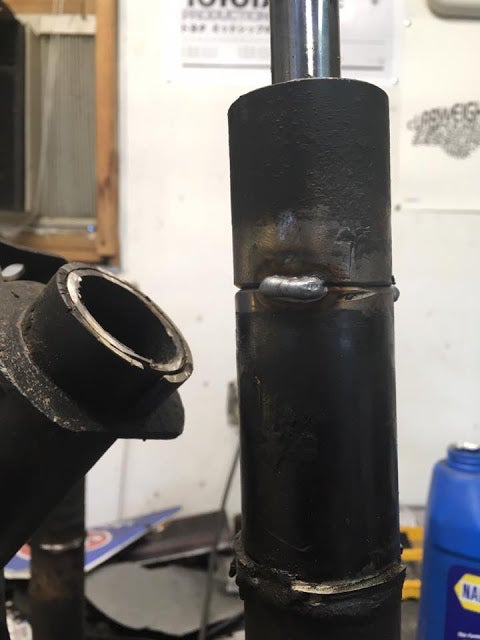
My old AW11 housings donated their top few inches. These were left over after I upgraded my MR2 to SW20 front housings !!!error: Indecipherable SUB-paragraph formatting!!! . After being tacked in place and another test fit, they were welded up and ground smooth.

HereÆs all the housings welded up, ground down and waiting for parts. Note on the left, the AW11 rear housings, going on the front of the FX, have the brake line bracket transferred over. Having a CV shaft wear through a brake line at the track would be an absolute disaster.
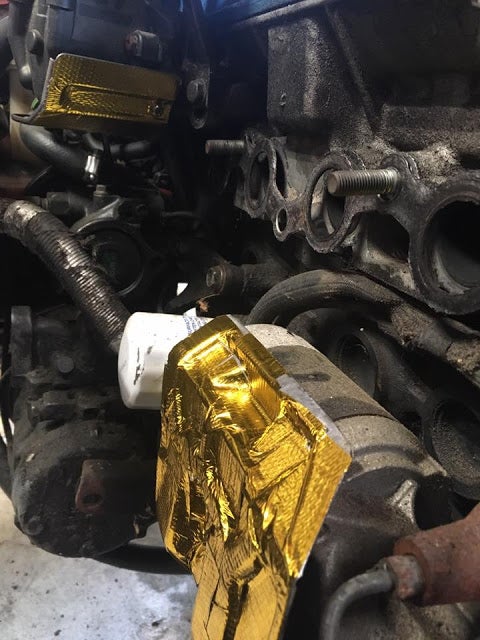
Since I was waiting on coilover bits to come in, I got to work on a few other tasks, including lining the heat shields for the starter and distributor with DEI reflective tape.
I also finally got around to making a block off plate for the intake side of where the EGR went.
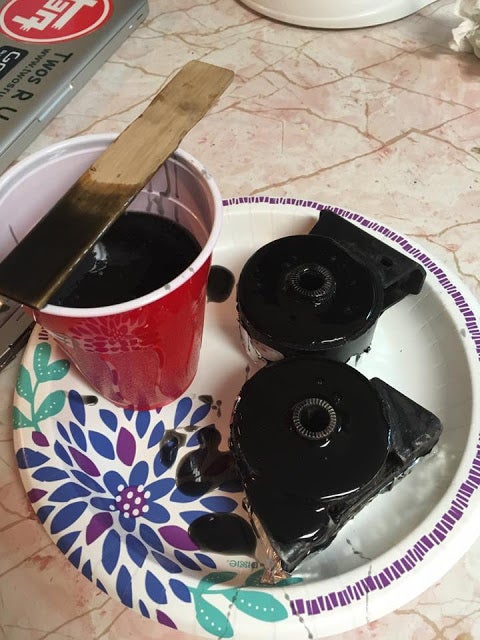
The engine mounts on the FX16 are notoriously weak, especially the front which takes the brunt of the engineÆs forces. I used urethane casting compound (available from Energy Suspension or McMaster-Carr) to fill the voids in the mounts and hopefully stiffen things up a bit. IÆve had good luck using this technique on various applications in the past, so hereÆs hoping it works here.
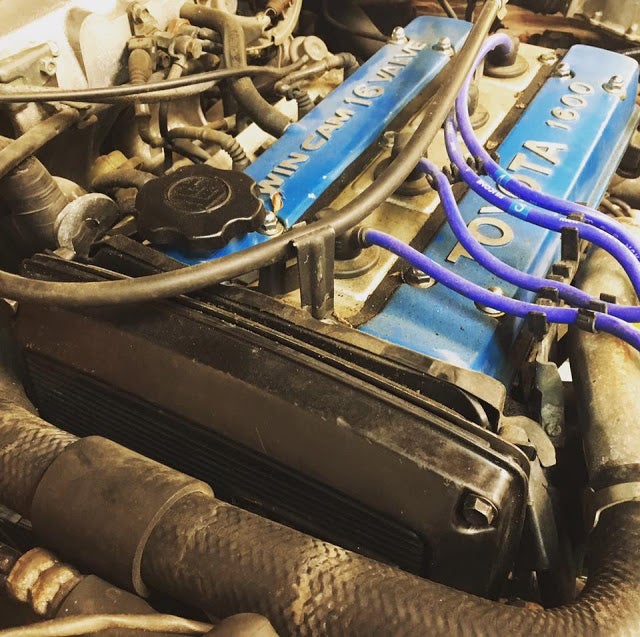
For some reason the timing belt covers were not installed when I got the car, so those got put back on as I donÆt like having fragile vital components exposed like that. This was way harder than it had any right to be.
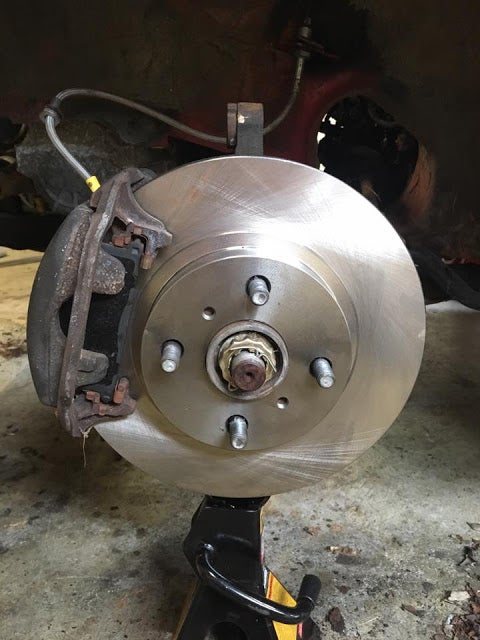
The front brake parts I was waiting on came in and the 87-89 MR2 front brake upgrade was complete.
For more content like this, check out !!!error: Indecipherable SUB-paragraph formatting!!!
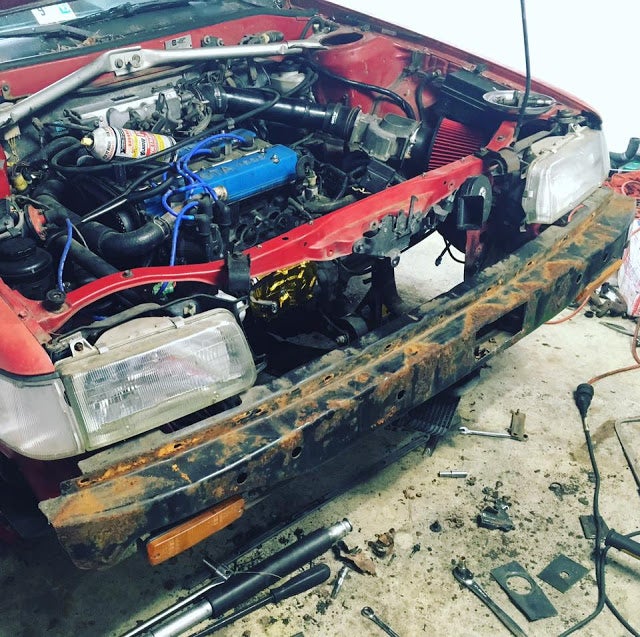
After having a closer look at the front end I realized how little air flow actually gets to the oil cooler. The bumper cover was in pretty rough shape anyway, so I figured a little ghetto cooling mod was in order. A couple hours of sweating in 105*F+ heat with an angle grinder and sawzall later, and this is the result.
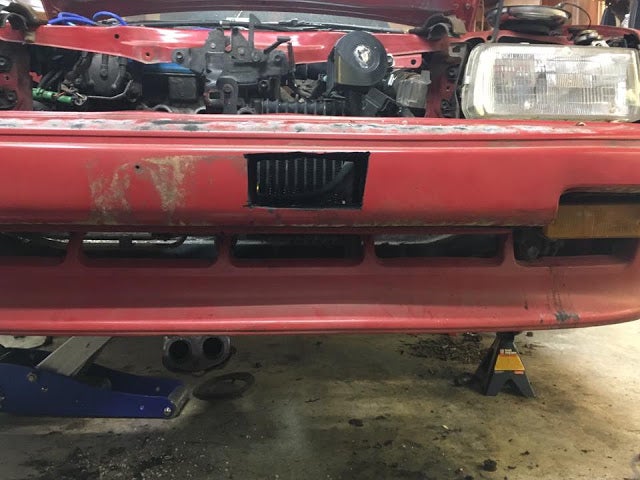
ItÆs not pretty, but it will work. I plan on finding some sort of duct opening to disguise my crooked horrible cuts at some point.
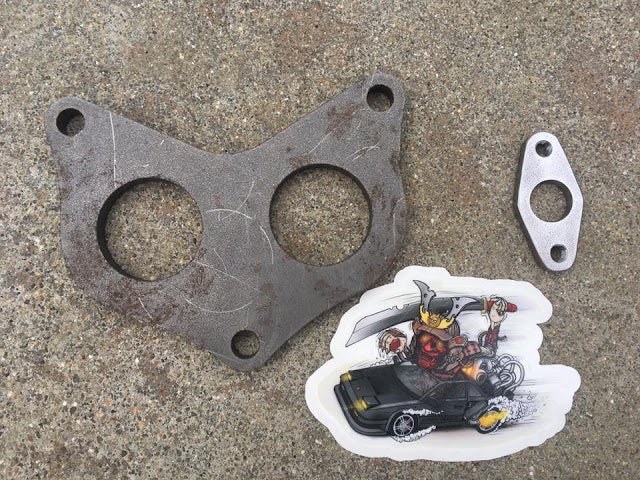
To do the planned 20-valve exhaust manifold conversion, a new downpipe flange and O2 sensor relocation are required. These flanges from MatrixGarage will go on the downpipe when the time comes.
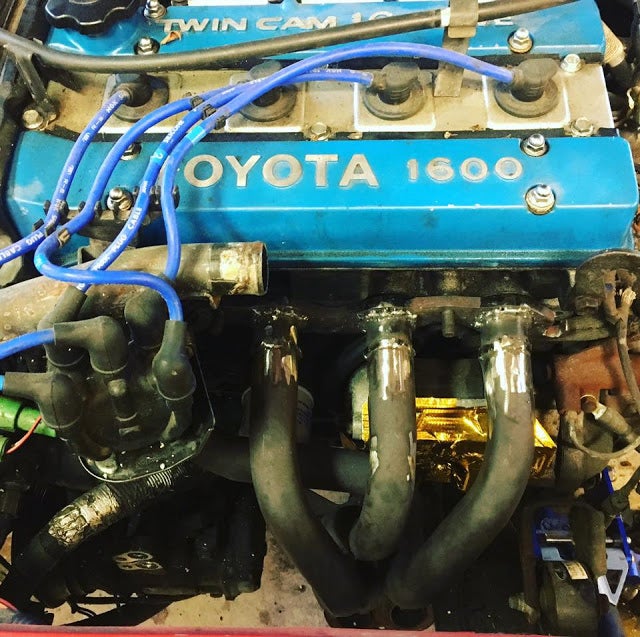
After finding some appropriately-sized piping from a local metal store, I attempted to extend the runners of the manifold to clear the starter. It worked, but I was not happy with how the welds turned out. I was still learning, and the weld quality was just not satisfactory yet. This particular project will likely be shelved until a later date, with the stock manifold going back on for now.
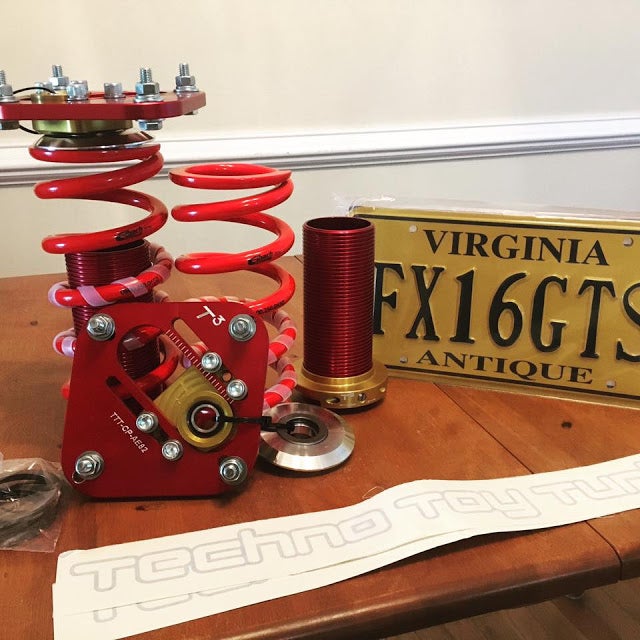
At long last, a package arrived from TechnoToyTuning with the front coilover conversion parts, as well as my new custom antique plates.
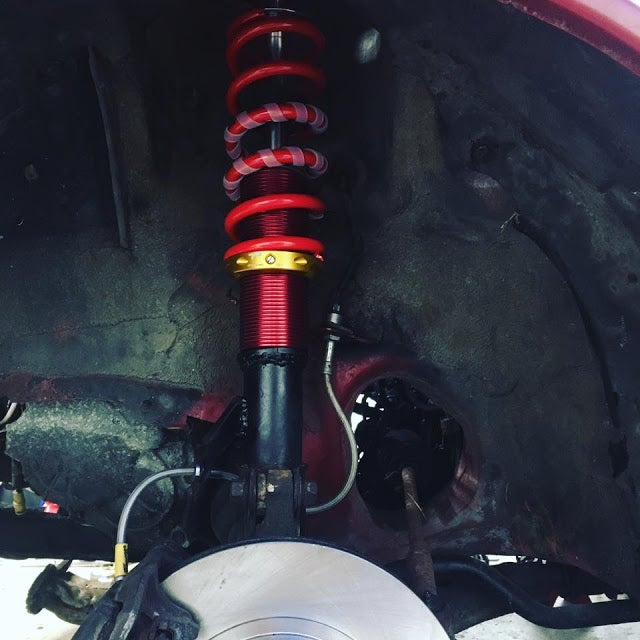
After welding the rings to the housings (with much better welds than the manifold), the front coilovers were assembled and installed. The final parts combination was 87-89 MR2 rear housings with Koni adjustable shocks, MR2 rear T3 coilover sleeves with 450lb/in springs, roller bearing upper hats, and AE82 camber plates.
ThatÆs it for Part 2. Keep an eye out for Part 3, where the rear suspension comes together, a few loose ends are tied up, and hopefully the car becomes roadworthy again!
For more content like this, check out !!!error: Indecipherable SUB-paragraph formatting!!!